| mandala-powerpoint-historical-reference-great-images1.ppt |
Check out this PowerPoint presentation to learn a little about the history of the Tibetan Mandala.
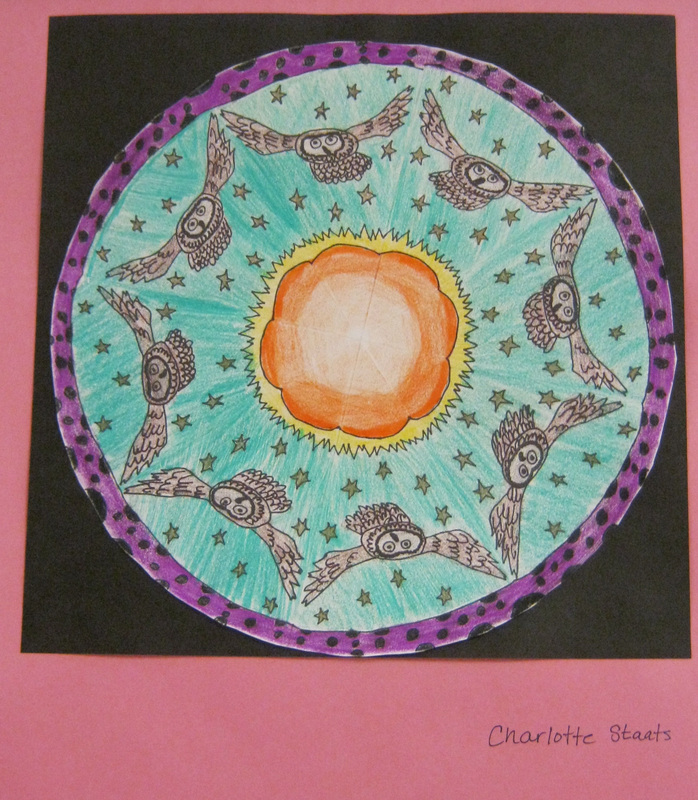 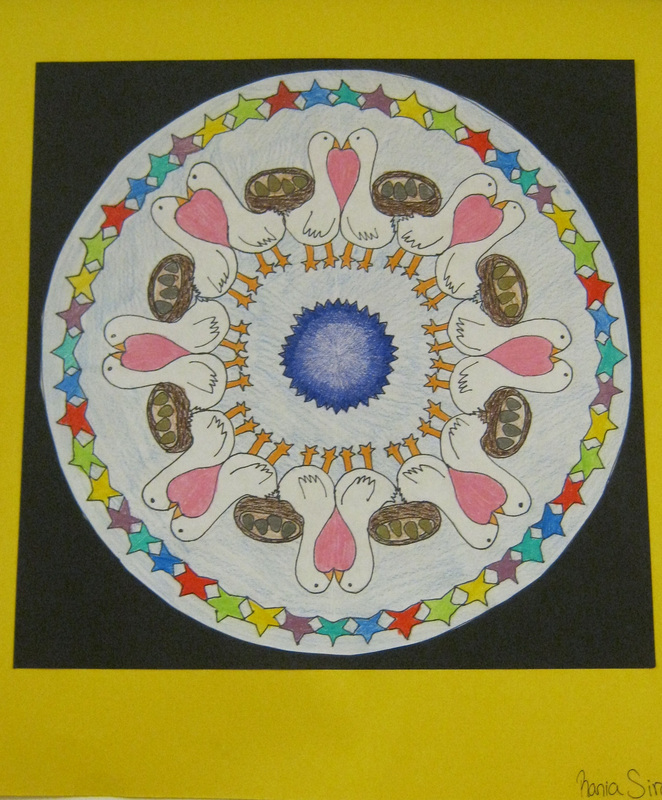 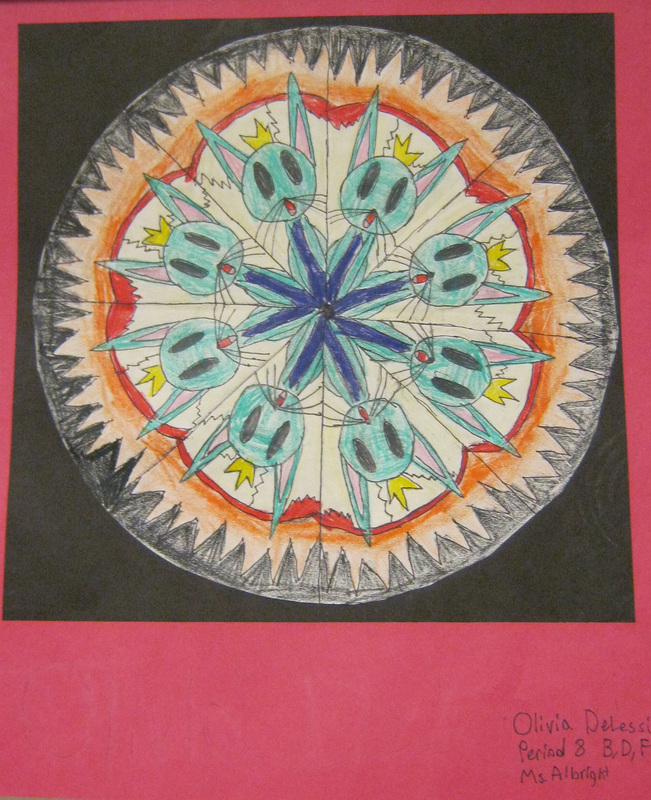 |  Student’s learned about the history of the Tibetan Mandala to start our Mandala unit. The history of mandalas goes back 2,500 years and was a form of art practiced only by monks. The monks use millions of grains of brightly colored sand to create their sand painting. Students were inspired by the Monks work to create their own mandala designs. 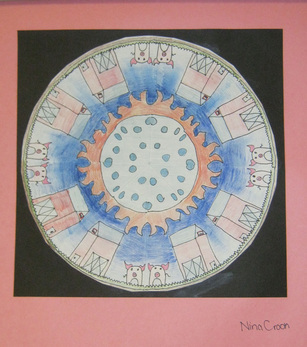 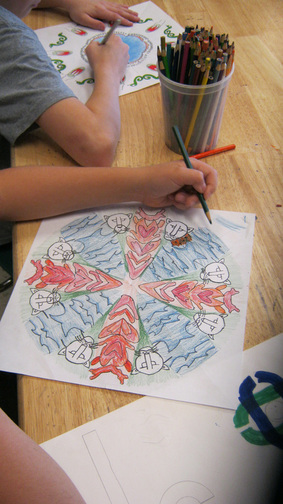 |
 RSS Feed